« Setting Up Vacation Accruals in Online Time Clock MTS | Main | Recording Sick Time, Vacation Time and Paid Time Off »
November 11, 2010
Setting Up Sick Time Accruals in Online Time Clock MTS
Online Time Clock MTS allows you to setup one or many complex (or simple) sick accrual schemes which can be applied to your employees. This can take all of the calculation complexity out of your hands and help to minimize payroll errors at the same time as decreasing unproductive time spent on administrative tasks. This blog article will take you through the process of configuring Online Time Clock MTS to do your sick accrual calculations for you.
Add an Employment Type
Sick accruals are setup on an employment type basis, employment types are then assigned to employees. This method gives you a great deal of flexibility. For example, you could define one employment type (and sick accrual scheme) to cover an entire group of employees or create an employment type per employee and have different accrual schemes per employee. The first step in the process is to add a new employment type. To do this log into Online Time Clock MTS as the account administrator or a location administrator and then go to the Manage Data->Manage Employment Types screen.
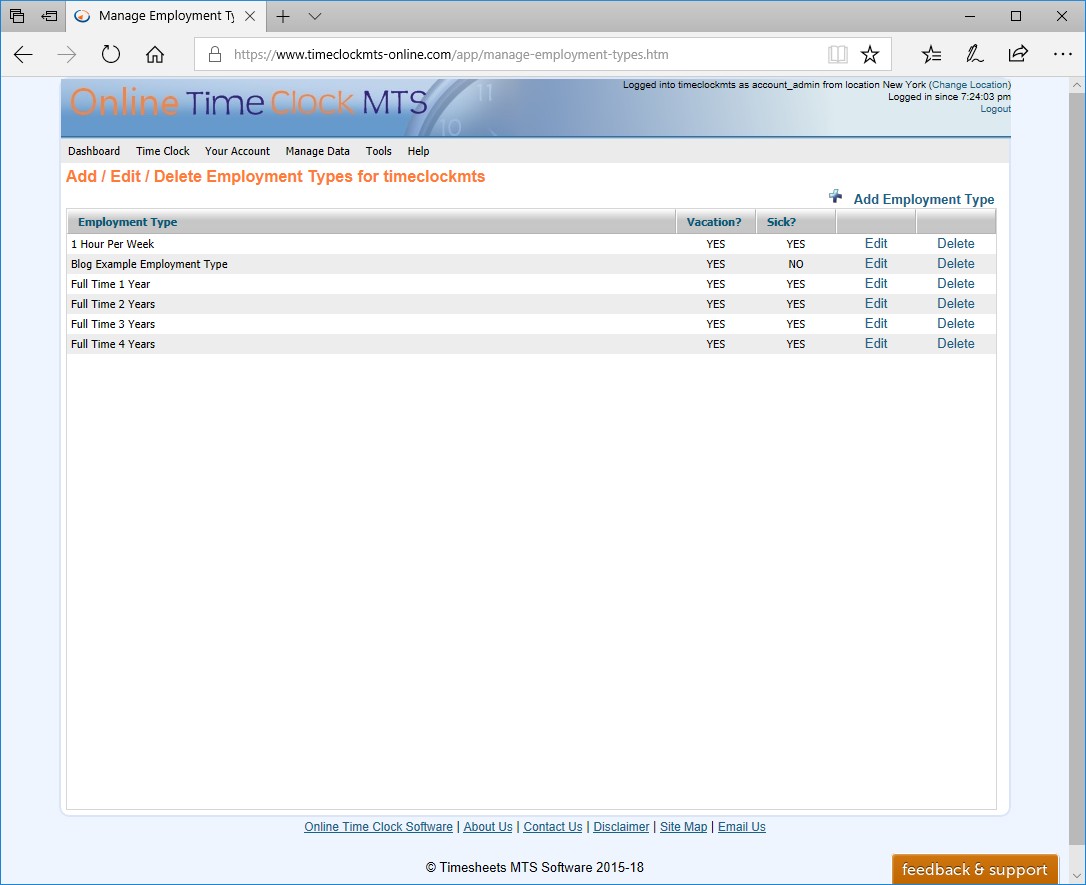
The Manage Employment Types Screen - Click to Enlarge
Click the Add Employment Type link to add a new employment type, you'll be shown the screen below. Give the new employment type a name.
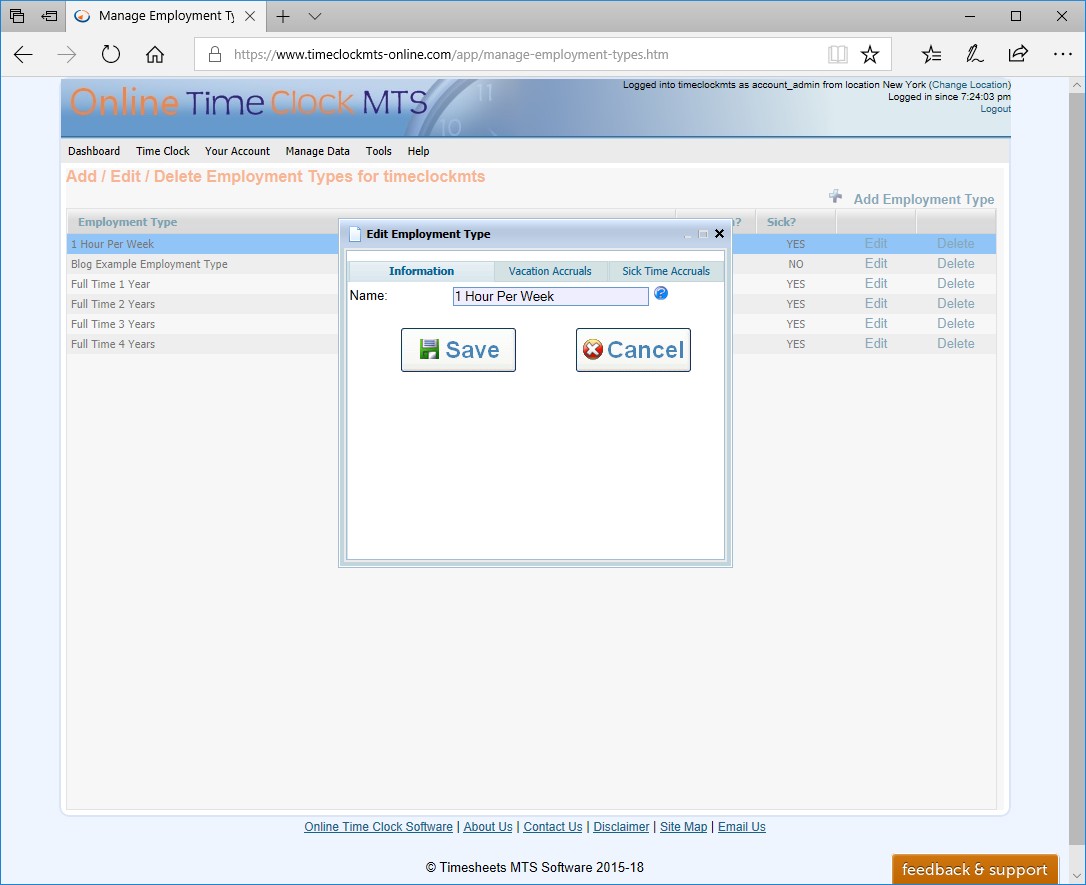
The Employment Type Information Screen - Click to Enlarge
Now click on the Sick Accruals tab and you'll be shown the screen below.
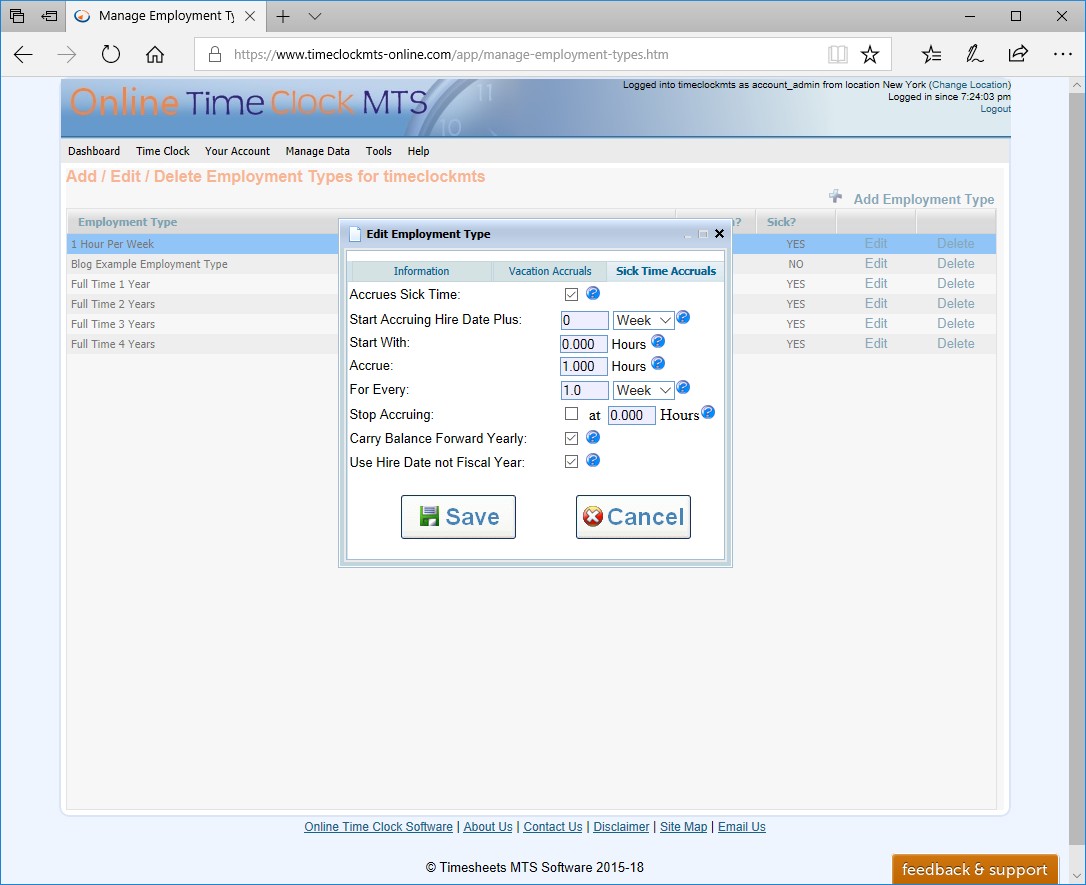
The Employment Type Sick Accruals Screen - Click to Enlarge
It's worth spending some time taking a look at this screen. There's several settings you can play with to have Online Time Clock MTS calculate your employee sick accruals.
- Accrues Sick Time - this box must be checked for this employment type to accrue sick time. Each employee must also have the Accrues Sick Time setting checked on the employee payroll information screen.
- Start Accruing Hire Date Plus - you can use this setting to apply a delay to the start of sick accruals. It's pretty common to delay new employees from getting sick time for a month or even three months after they start work so you'd set your delay here.
- Start With - this field can be used to set a sick starting balance. This could be used for employees who get their leave credited in advance of the time they work to accrue it.
- Accrue - the number of hours the employee will accrue for each time unit which is set in the For Every setting which we'll discuss next.
- For Every - the time unit at which sick time will accrue. When the units are set to hours sick time will accrue in units of hours worked by the employee. When the units are set to weeks sick time will accrue in elapsed 7 day weeks since the employee was hired (or the beginning of the fiscal year) regardless of hours worked. When the units are set to months sick time will accrue in calendar months since the employee was hired (or the beginning of the fiscal year) regardless of hours worked. It is worth noting that Online Time Clock MTS will only accrue sick time in whole units, so if your accrual period is set to 2 months it will only accrue time for a complete two month period (ie there are no partial units such as 1.5 months).
- Stop Accruing - if you apply an upper limit for sick accruals then you can check this box and set a limit in hours. It's not unusual for a company to limit their sick liability by applying an upper limit on accrued time.
- Carry Balance Forward Yearly - if this box is checked the sick balance will rollover from one year to the next (the year being either the fiscal year or the anniversary of the employee hire date). If this is not checked then the employee sick balance will reset yearly.
- Use Hire Date not Fiscal Year - if this box is checked then the rollover date used will be the anniversary of the employee hire date. This setting only takes effect if the Carry Balance Forward Yearly setting is checked.
Setting up an Example Sick Accrual Scheme
Now we'll go ahead an define an example sick accrual scheme for the purposes of this blog article. Firstly make sure to check the Accrues Sick Time setting and then enter the settings as shown in the image below.

Sick Accrual Example - Click to Enlarge
In this example:
- The employee does not start accruing sick time until 4 weeks after they are hired.
- The employee starts with a zero sick balance.
- The employee accrues 13.333 hours for every elapsed calendar month. The results in 160 hours of sick being accrued each year or four full 40 hour work weeks.
- The maximum accrual balance is 320 hours or two full years of sick time.
- Sick time will continue to accrue from one year to the next without the balance being reset.
- The employee hire date is used as the basis for accrual calculations rather than the fiscal year.
Setup the Employee to Accrue Sick Time
The next (and final) step in the process of setting up sick accruals is to configure each employee to use our new employment type and then specify that the employee can accrue sick time. We do this by going to the Manage Employees screen and then editing the employee and setting the employment type on the employee information tab, this is shown in the image below.
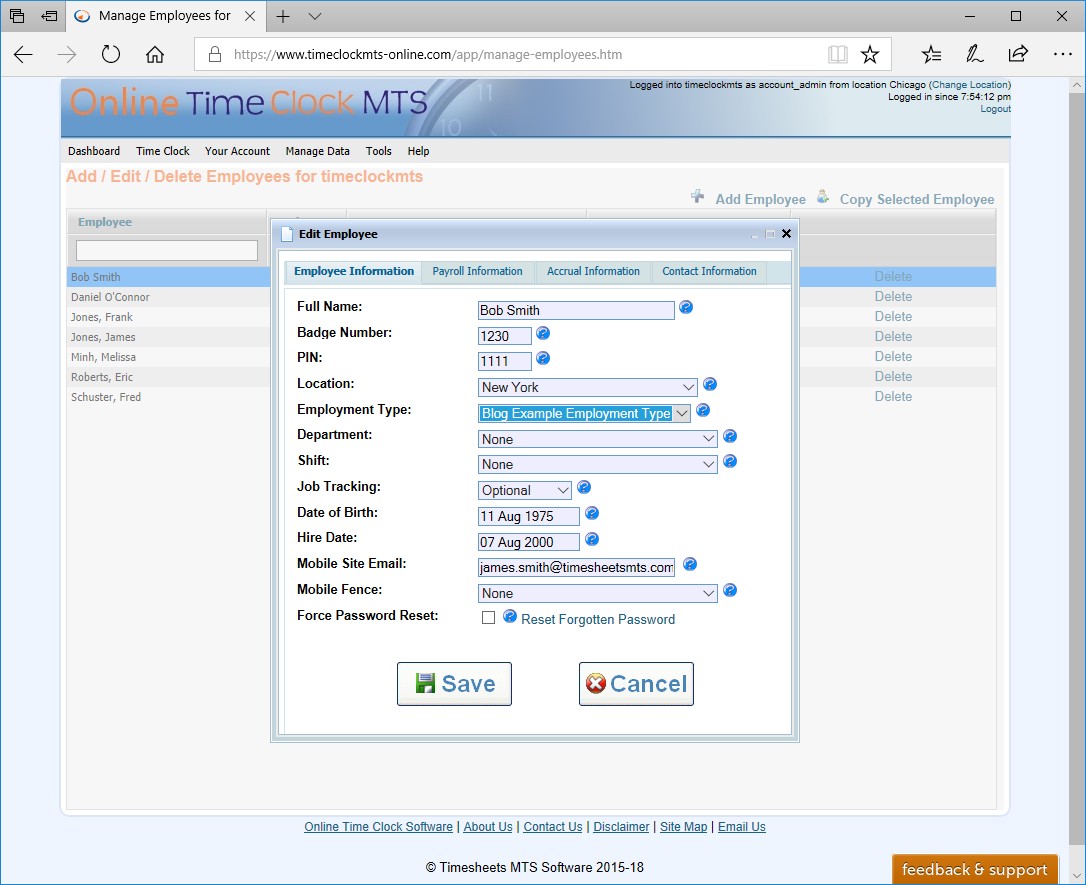
Setting the Employment Type - Click to Enlarge
Once we've set the employment type click the Payroll Information tab and check the Accrues Sick Time checkbox. This is shown in the image below.
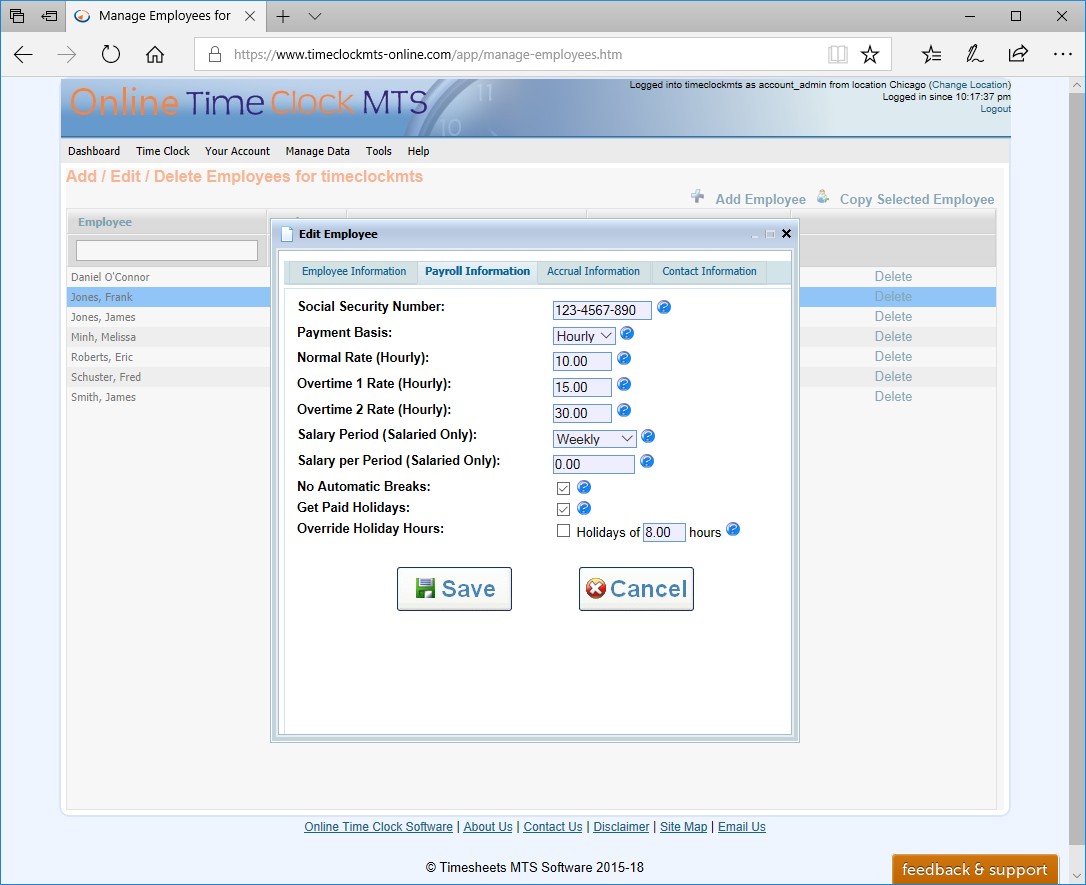
Employee Payroll Information - Click to Enlarge
All we need to do now is click Save to save the changes and our employee is now setup to accrue sick time. There are a couple of settings on the Employee Payroll Information screen that can also affect the sick accrual calculations. The first, the Override Accrual Start Date setting allows you to specify a date from which accrual calculations will start. This is useful for bringing existing employees with established accrual balances into Online Time Clock MTS. The second setting, Sick Time Starting Balance is also useful for this purpose. This starting balance is cumulative with the starting balance of the employment type.
Conclusions
I've taken you through the process of setting up Online Time Clock MTS to perform your sick accrual calculations for you, there's still the matter of actually recording the sick time taken and then reporting on this. These are subjects for some follow up blog articles that will be available in the next few days.
Posted by markn at November 11, 2010 1:45 PM
