Managing Locations
Managing Locations - Click to Enlarge
Each Online Time Clock MTS account can have one or more locations. Each location can have it's own timezone meaning that wherever your employees are in the country or world they can all record their times to one central system. So, if for example, your company has offices in New York and Los Angeles your employees in both locations can clock in and out from Online Time Clock MTS and have their local times recorded correctly. You can then report on employees from both locations quickly and easily into a single report. The ability to record and report on employees from multiple timezones is one of the most powerful features of Online Time Clock MTS.
Note that each Online Time Clock MTS account has a single location by default. Locations after this first one will incur an additional subscription cost.
Adding Locations
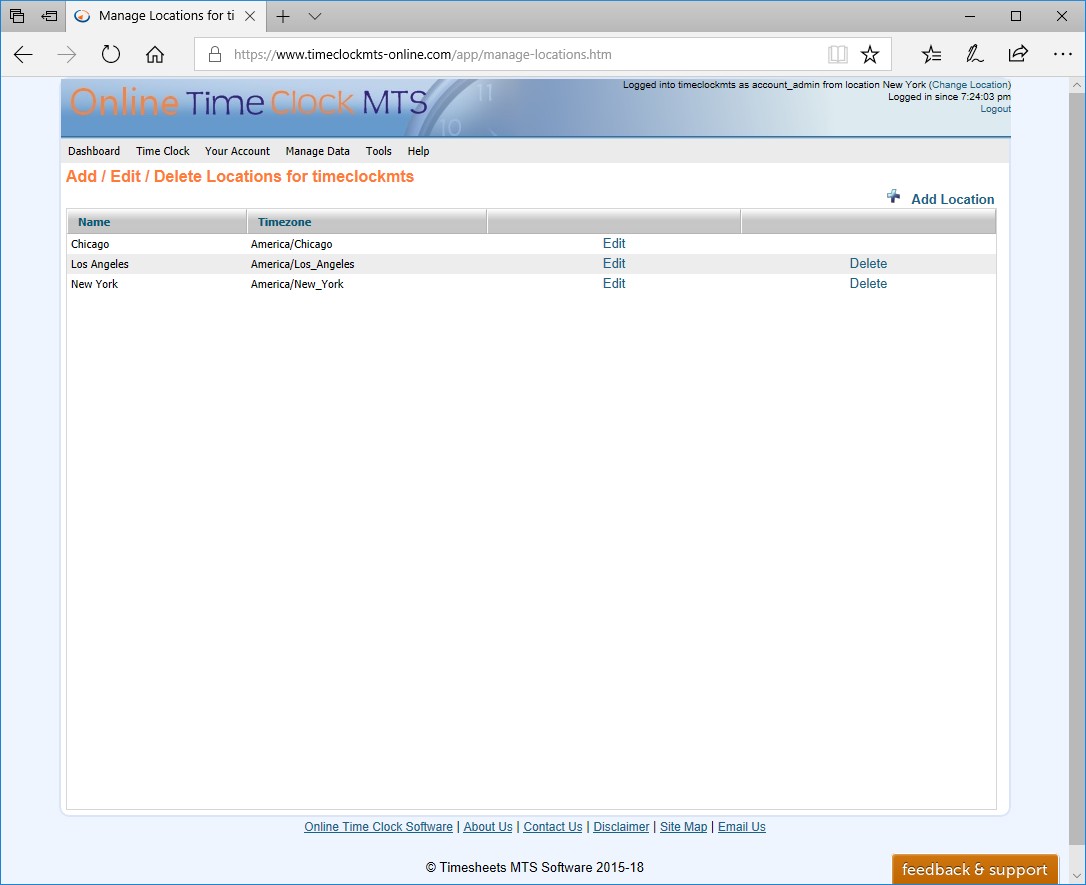
When logged into Online Time Clock MTS as the account administrator you can add locations using the Manage Data ->Manage Locations screen. Once on that screen you can just click the Add Location link. Note that you can only have the number of locations that your current Online Time Clock MTS subscription allows. If you require more locations than this you will need to upgrade your subscription level.
Editing Locations
When logged into Online Time Clock MTS as the account administrator you can edit locations using the Manage Data -> Manage Locations screen. Once on that screen you can just click the Edit link for the location you wish to edit.
Deleting Locations
When logged into Online Time Clock MTS as the account administrator you can delete locations using the Manage Data -> Manage Locations screen. Once on that screen you can just click the Delete link for the location you wish to delete.
The Manage Locations Screen
The Manage Locations screen is used to add, edit, or delete locations. Only the account administrator can access the Manage Locations screen. The Manage Locations screen can be found via the Manage Locations link on the account dashboard or via the Manage Data->Manage Locations drop down menu.
This page last modified : 18:21:59 29 Jul 2014
